


Can you trust AI camera demos at smartphone launches?
Those events are built to impress.
Perfect light, curated samples, and slides that show the phone at its best.
That matters because you’ll use the camera in messy real life: low light, moving subjects, varied skin tones.
This post gives a practical framework to cut through the hype.
You’ll learn what specs to demand (sensor size, real optical zoom), what to request (RAW files, unedited samples), and five quick tests to run so you can spot marketing tricks on the spot.
Framework for Evaluating AI Camera Features at Smartphone Launch Events
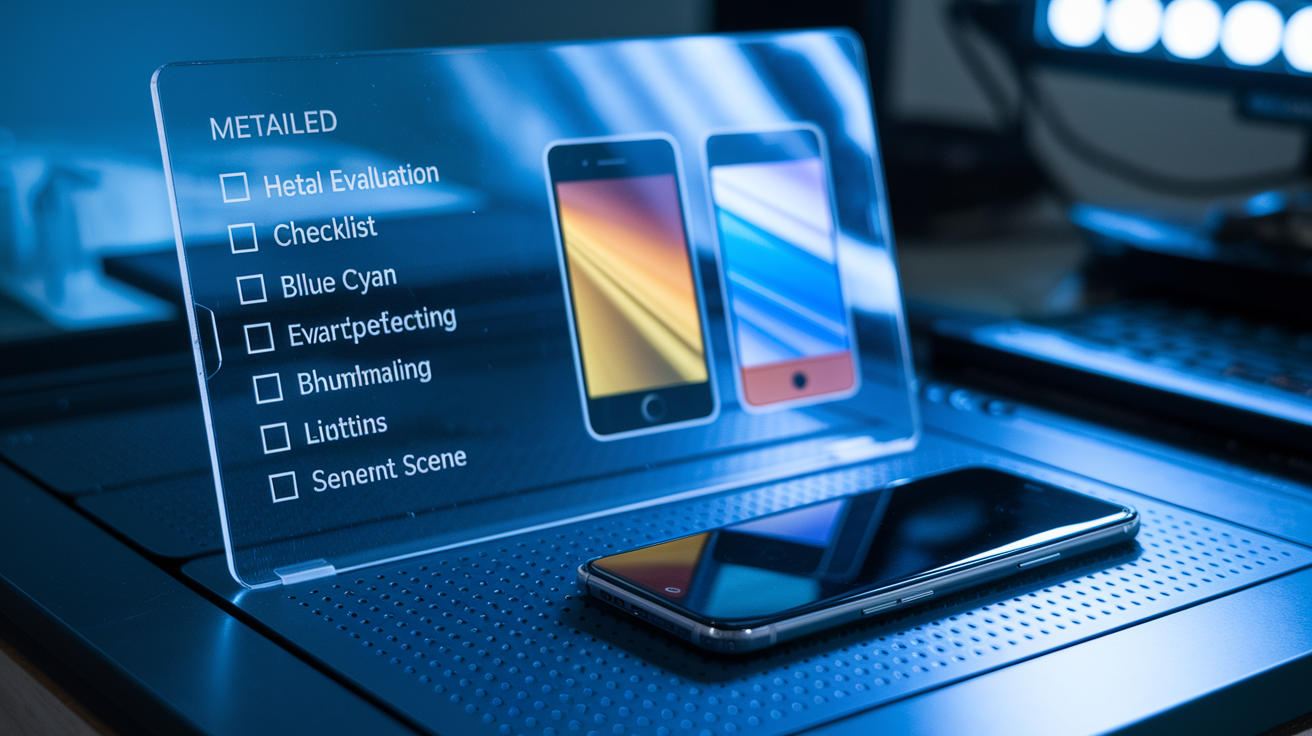
Launch events exist to dazzle you. Perfect lighting, handpicked subjects, demo slides showing the phone at its absolute peak. That environment doesn’t remotely resemble the dimly lit restaurant where you’re trying to snap a photo, or your backyard when your dog’s tearing across the grass at full speed.
Computational photography has been around since the early 2010s. It’s the backbone of what phones now call AI camera features. Generative AI showed up in smartphone imaging around late 2022, bringing tools that can actually synthesize brand new image content. Today’s devices claim six core AI capabilities: computational photography (multi-exposure stacking, scene understanding), night mode with AI denoise and detail recovery, object and scene recognition for automatic presets, pro-level in-phone editing (background removal, object erase), generative AI features (generative fill, AI-enhanced zoom), and AI-powered video enhancements (stabilization, auto-tracking, frame interpolation). But not every implementation delivers. Marketing language often hides the gap between actual optical hardware and software tricks.
Testing needs at least five controlled scenes: daylight high dynamic range, indoor mixed lighting, low-light street, portrait with varied skin tones, high-zoom distant subject. Shoot five to ten photos per mode to judge consistency. Red flags? No RAW samples available, demos locked to studio conditions, vague optical versus digital zoom breakdowns, generative artifacts visible at 100% crop (repeating textures, mismatched shadows, broken reflections).
Immediate steps for assessing claims during a launch event:
- Demand explicit sensor size, aperture, focal length, and true optical zoom specs. Not marketing slogans like “AI-enhanced pro-level zoom.”
- Ask whether advanced features run fully on-device or need cloud processing, which affects latency, privacy, and real-time usability.
- Request unedited RAW files and side-by-side JPEG samples captured in uncontrolled lighting. Not cherry-picked studio shots.
- Inspect at least three sample images at 100% crop to check for sharpening halos, texture smoothing, and generative artifacts.
- Confirm a timeline for independent lab tests and community RAW sample sets (typically seven to fourteen days post-launch) before making purchase decisions based on claims alone.
Understanding AI Computational Photography in Modern Smartphone Cameras

Computational photography took off in the early 2010s. At its core, it uses multi-frame stacking and scene understanding to combine multiple exposures into one image with better dynamic range, sharper detail, and lower noise than any single frame could deliver. What makes this “AI” today is the addition of neural-network-driven processing running on dedicated hardware inside the phone.
Three components work together. The Image Signal Processor (ISP) handles raw sensor data and initial processing. The Neural Processing Unit (NPU) or AI accelerator runs machine-learning models for tasks like scene detection and noise reduction. The main chipset orchestrates the workflow and manages power. Phones like the Pixel 8, Samsung Galaxy S series, and the latest iPhones refine this pipeline with stronger silicon and tighter integration between hardware and software stacks. Larger sensors (1/1.3-inch or 1/1.12-inch) and better optics produce higher-quality baseline data, giving AI algorithms more real information to enhance rather than fabricate.
| Component | Role in AI Photography |
|---|---|
| Image Signal Processor (ISP) | Handles raw sensor input, demosaicing, tone mapping, and initial noise reduction before AI steps in. |
| Neural Processing Unit (NPU) | Runs on-device machine-learning models for scene recognition, multi-frame stacking, denoise, and generative edits. |
| Main Chipset (CPU/GPU) | Coordinates processing pipeline, manages power and thermal limits, and handles general compute tasks for real-time preview and post-capture edits. |
Evaluating Night Mode and Low-Light AI Performance
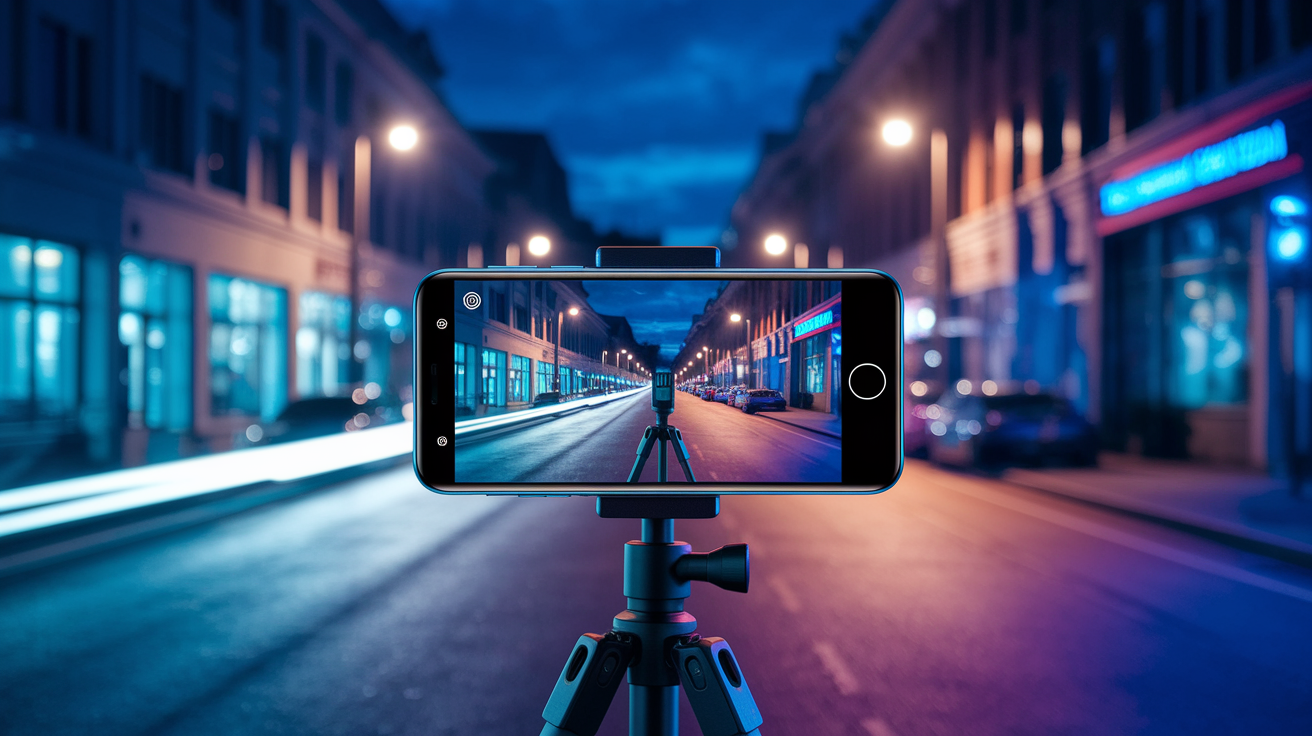
Night-mode quality depends on multi-frame stacking, intelligent noise reduction, and the ability to recover shadow detail without introducing color shifts or destroying texture. Most phones since late 2022 integrate generative recovery techniques that can hallucinate plausible detail in very dark areas. Looks impressive on a small screen, but falls apart under scrutiny.
Testing low-light performance requires controlled, repeatable conditions. Photograph the same scene in lighting below five lux (moonlit or dim streetlight) using both handheld night mode and a tripod with longer exposure. Capture three bracketed exposures and a night-mode image, then compare shadow noise, highlight clipping, and color accuracy at 100% crop. Take at least ten shots in burst mode to assess consistency. If the phone produces wildly different results across repeated attempts, the AI is being highly selective or relying on luck rather than robust processing.
Inspect shadow regions for chroma noise (colored speckles) and check whether fine textures like brick, fabric, or foliage are preserved or turned into watercolor smears by aggressive denoise algorithms. Compare highlight preservation in mixed scenes (streetlights, neon signs) to confirm the phone isn’t clipping bright areas to salvage shadows. True dynamic range and detail recovery should be evident in both RAW and processed JPEG files. Not just software reconstruction that invents plausible-looking pixels.
Specific low-light tests to run:
- Capture ten handheld night shots of the same static scene and compare consistency of noise, exposure, and color across all frames at 100% crop.
- Photograph a low-light scene with strong point light sources (streetlights, candles) to check for highlight clipping, halo artifacts, and lens flare handling.
- Shoot the same subject with night mode on and off, then inspect RAW files to determine whether the phone is genuinely recovering detail or synthesizing texture.
- Test latency by measuring the seconds from shutter press to image save, especially for multi-frame night modes that stack five or more exposures.
Assessing Scene Recognition, Portrait Mode, and Bokeh Algorithms
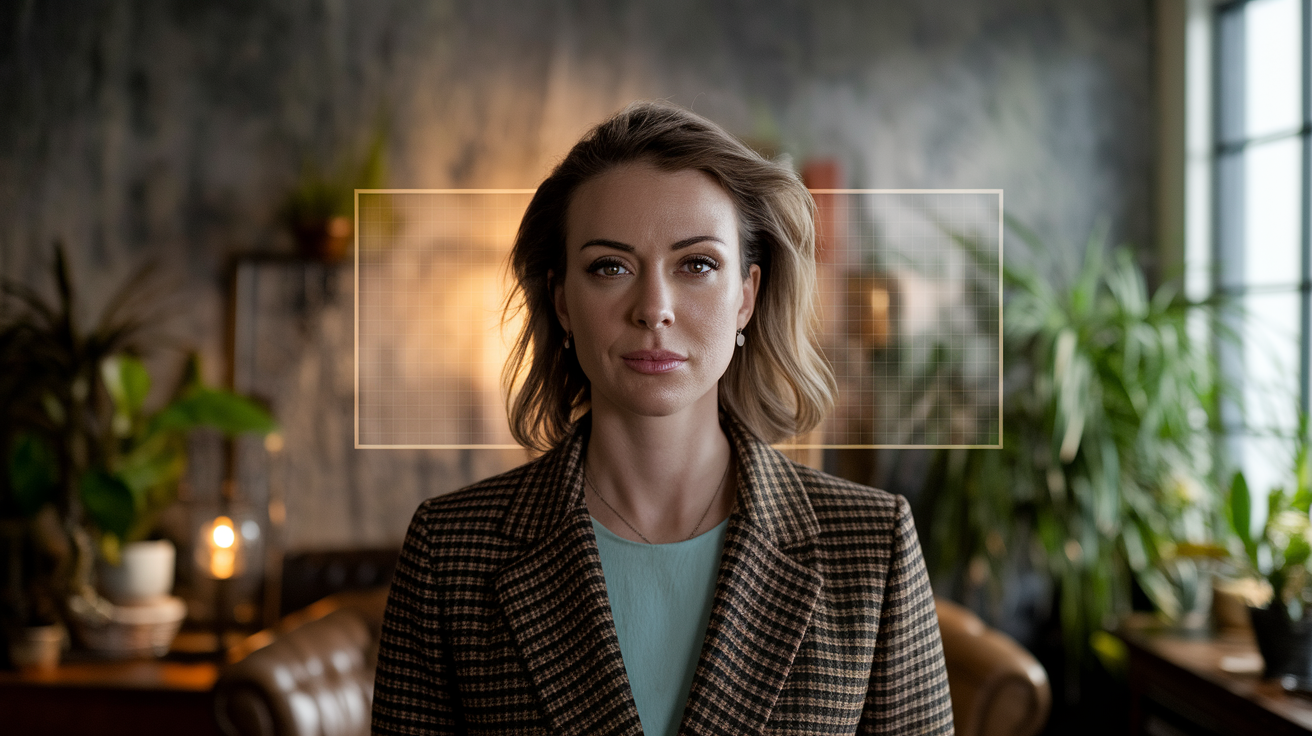
AI scene recognition applies automatic tuning based on detected subjects. Boosting greens for landscapes, warming skin tones for portraits, increasing saturation for food. When it works, the adjustment is subtle and helpful. When it fails, you get oversaturated skies, unnatural skin colors, or incorrect exposure for the wrong detected scene. Test by photographing at least three people with varied skin tones under identical lighting and inspecting for color shifts, smoothing, or uneven exposure that favors certain tones over others.
Portrait mode and AI-driven bokeh rely on depth maps and edge segmentation. Phones use a combination of dual-camera parallax, time-of-flight sensors, and software inference to separate subject from background. The algorithm must correctly identify edges of hair, glasses, ears, and fine details like jewelry or fingers holding objects. Failures show up as blurred foreground elements, sharp background patches that should be out of focus, or unnatural edge halos where the subject meets the background. Generative bokeh can introduce completely artificial blur patterns that don’t match real lens optics.
Checking Depth and Segmentation Accuracy
Photograph a person against a cluttered background with complex shapes (tree branches, fence, patterned wall). Activate portrait mode and inspect the resulting depth map if the phone provides it, or simply examine the bokeh layer at 100% crop. Look for misclassified regions where background intrudes into the subject or vice versa, and check fine details like individual strands of hair. Repeat the test with eyeglasses, hats, or hands near the face to stress the segmentation algorithm. If the phone consistently fails to preserve detail or creates obvious masking errors, the portrait mode is more marketing than tool.
Separating Optical Zoom Hardware from AI-Enhanced Zoom Claims
True optical zoom uses dedicated telephoto lenses with longer focal lengths to magnify the subject without cropping into the sensor. Phones like the Oppo Find X7 Ultra demonstrate what strong hardware looks like: quad 50-megapixel cameras with two periscope telephoto lenses covering an equivalent focal range of 14–270mm. That’s genuine optical reach across a wide span, giving AI a high-quality baseline to refine.
Other manufacturers take a different approach. Samsung’s Galaxy S24 series reduced true optical zoom from 10x to 5x, relying instead on AI-driven digital zoom via a “Quad Tele” camera setup to extend reach. Digital zoom means cropping into the sensor and upscaling the result with machine-learning models. The quality difference becomes obvious when you inspect 100% crops. AI can reduce some interpolation artifacts and sharpen edges, but it can’t recover detail that was never captured optically. Test any zoom claim by photographing a detailed, distant subject at 1x, 2x, 5x, 10x, and the maximum advertised zoom level. Compare sharpness, chroma noise, and texture fidelity across all steps.
| Zoom Level | Hardware vs AI | What to Inspect |
|---|---|---|
| 1x – 2x | Usually optical (primary or wide lens) | Baseline sharpness and color accuracy; check for distortion correction artifacts at edges. |
| 3x – 5x | Optical telephoto or sensor crop + upscale | Fine detail retention, edge sharpness, and absence of interpolation halos. Compare against RAW to confirm optical capture. |
| 10x | Periscope telephoto (if present) or heavy AI upscale | Texture fidelity at 100% crop; look for repeating patterns, chroma noise, and smoothing that destroys real detail. |
| 30x – 100x | Almost entirely AI digital zoom | Usability for identification (license plates, signs) but expect heavy artifacts. Check for invented textures and color shift. |
| Ultra-wide | Optical with AI distortion correction | Edge straightness, corner sharpness, and color uniformity. AI correction can introduce warping or chromatic aberration at extremes. |
Evaluating Generative AI Editing Tools and Artifact Detection
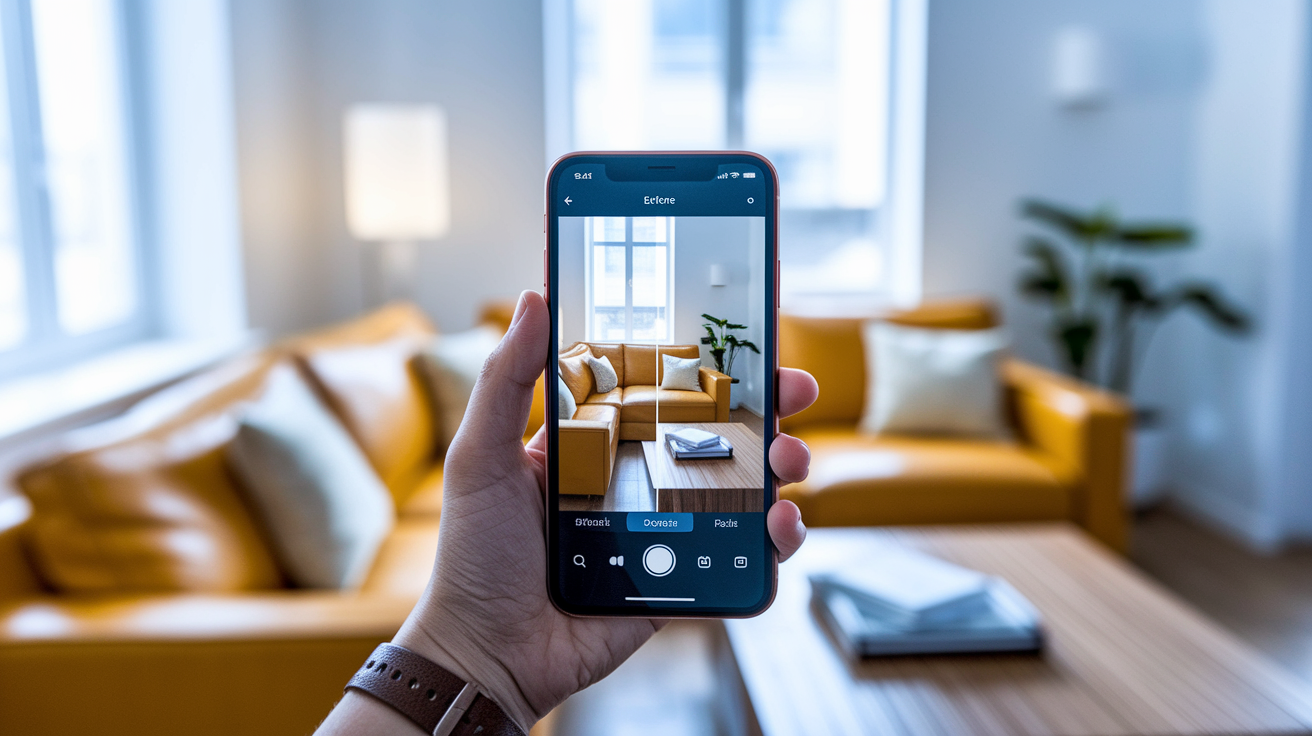
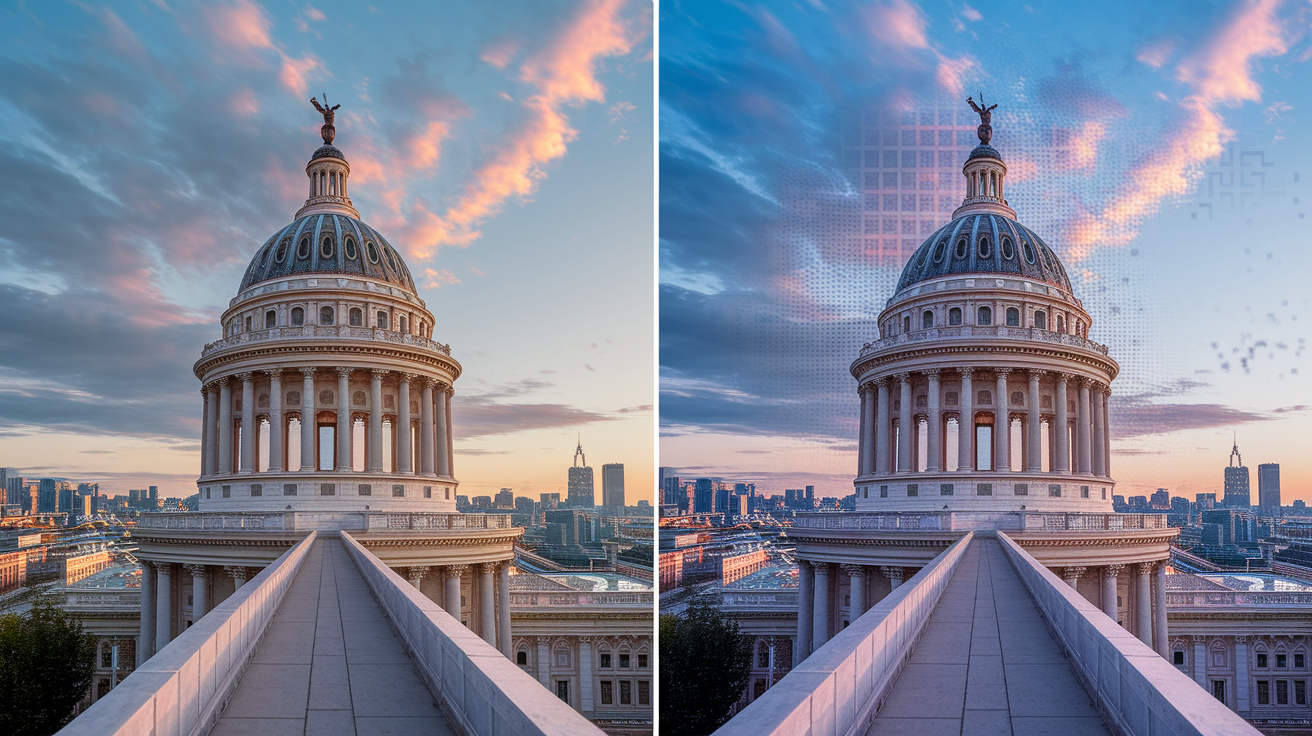
Generative AI features like object erase, generative fill, and AI-enhanced zoom synthesis became mainstream in smartphones after late 2022. Tools on the Pixel, Samsung, and other flagship models can remove unwanted objects, fill in backgrounds, or upscale zoomed images with plausible-looking detail. The key word is “plausible.” These tools use machine-learning models trained on millions of images to predict what should fill a gap or how a texture should continue. They don’t recover real information.
Test generative edits by using the same source image on the phone’s object eraser or fill tool and inspecting the result at 100% crop. Common defects? Mismatched lighting (shadows that don’t align with the scene’s light source), repeating textures (the AI tiles a pattern instead of creating unique detail), broken reflections (a filled area that should mirror surroundings but doesn’t), and inconsistent edges where the generated content meets real pixels. Compare multiple edits of the same image. If results vary wildly, the tool is guessing rather than intelligently reconstructing.
Common generative flaws to check:
- Repeating textures or patterns where unique detail should exist, such as brickwork, foliage, or fabric that tiles unnaturally.
- Misaligned shadows or lighting that doesn’t match the direction or intensity of the original scene’s light sources.
- Broken or impossible reflections, especially in glass, water, or polished surfaces where the fill should mirror nearby objects but doesn’t.
- Inconsistent edges with visible halos, color shifts, or blurred transitions where generated content meets the original photograph.
Real-World Video AI Testing: Stabilization, Tracking, HDR, and High Frame Rates
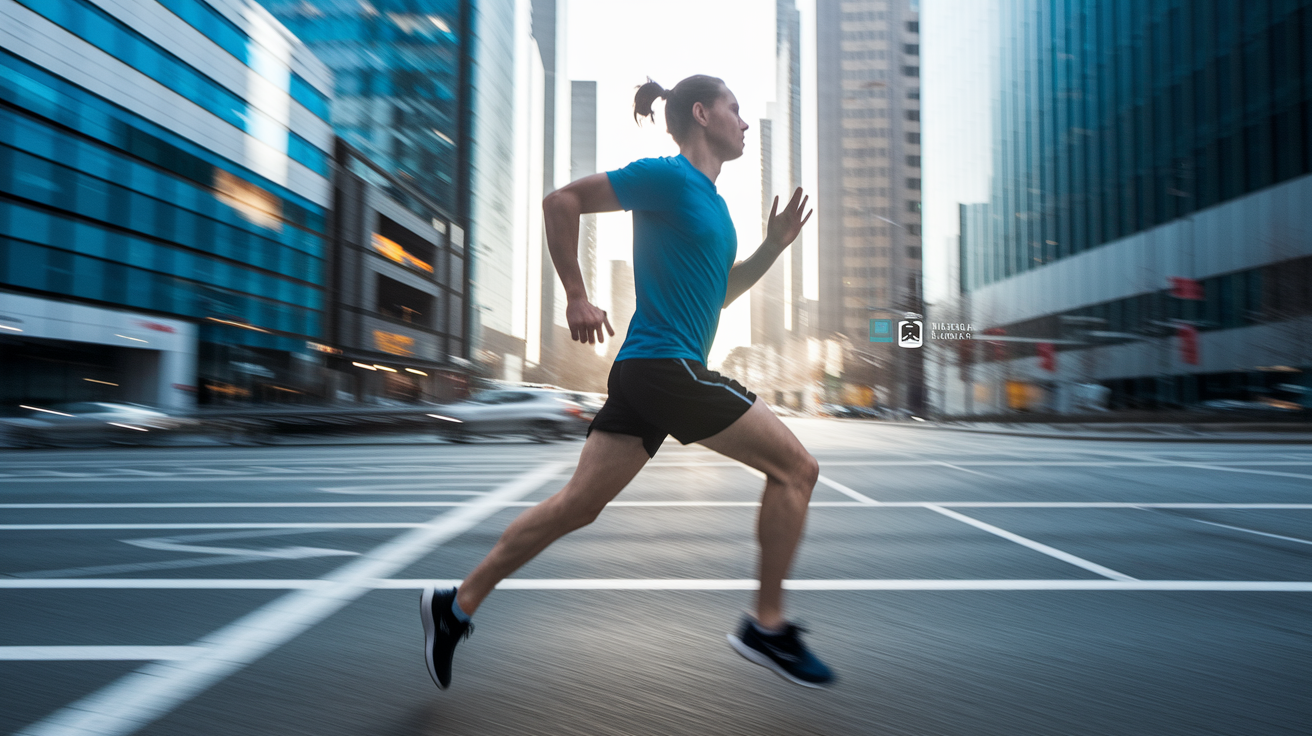
Video AI testing requires motion, real-world lighting changes, and sustained capture to reveal issues that still images hide. Stabilization combines optical image stabilization (OIS) hardware with electronic image stabilization (EIS) software. The best systems deliver smooth footage during handheld walking or running without introducing jello (rolling shutter distortion) or excessive crop. Test by recording a 10 to 30 second clip while walking at normal pace, then another while running. Play back at full resolution and watch for pulsing exposure, jumpy frame transitions, or warped straight lines.
Subject tracking uses AI to identify and follow a moving person, pet, or object, keeping it in focus and correctly exposed even as the scene changes. Record a 30 second clip panning to follow a moving subject (dog running, child on a bike). Check whether autofocus stays locked, whether exposure adjusts smoothly, and whether tracking continues if the subject briefly moves out of frame. Slow-motion interpolation generates extra frames between real captures using AI prediction. Inspect generated frames for ghosting, blurred motion trails, or unnatural movement.
HDR video formats (HDR10, Dolby Vision) and high frame rates (4K at 60fps or 120fps) stress the processing pipeline. Cloud-assisted processing, as seen on Samsung’s Galaxy S24 series, can reduce on-device thermal load but introduces latency and privacy concerns. Test maximum resolution and frame rate combinations, and monitor for exposure pulsing, dropped frames, or audio-video sync drift during longer recordings.
Measurable video issues to inspect:
- Jello or rolling-shutter artifacts during panning or fast motion, visible as skewed vertical lines or warped buildings.
- Exposure pulsing where brightness jumps between frames instead of transitioning smoothly, common in scenes with changing light (walking under trees, moving between indoors and outdoors).
- Focus hunting where autofocus oscillates back and forth instead of locking onto the subject, especially in low-contrast or backlit scenes.
- Audio-video sync drift in recordings longer than 60 seconds, detectable by clapping on camera and checking alignment in playback.
How to Analyze Sample Photos: RAW Access, Metadata, and 100% Crop Evaluation

RAW capture is the single most important feature for independent evaluation. A RAW file (usually DNG format) contains unprocessed sensor data before any AI, sharpening, or noise reduction is applied. If a phone offers RAW support, you can compare the raw sensor capture against the processed JPEG to see exactly what the AI changed. If a manufacturer refuses to provide RAW or restricts it to third-party apps, the processing pipeline is opaque and claims become harder to verify.
Metadata embedded in image files (EXIF data) reveals sensor size, focal length, ISO, shutter speed, aperture, and often processing flags that indicate whether AI features were active. Inspect metadata using any photo editor or EXIF viewer. Compare stated specs (sensor size, aperture) against advertised numbers to confirm marketing claims. Use histograms and waveforms to check exposure distribution, highlight clipping, and shadow detail recovery. A histogram pushed hard to the right with no headroom signals clipped highlights. One bunched on the left with a spike at zero indicates crushed shadows.
100% Crop Inspection Workflow
Open the photo at full resolution and zoom to 100% (one screen pixel equals one image pixel). Inspect three critical areas: fine textures (fabric, skin, foliage) for smoothing or watercolor effects that destroy real detail. Edges and high-contrast transitions (hair against sky, building corners) for sharpening halos or unnatural outlines. Uniform areas like sky or walls for chroma noise (colored speckles) and banding. Compare the 100% crop against a reference image from a known camera or a competitor device shot under identical conditions. Repeat this check across at least five images from each test scene to confirm consistency rather than one lucky shot.
Identifying Marketing Hype and Red Flags in AI Camera Demonstrations
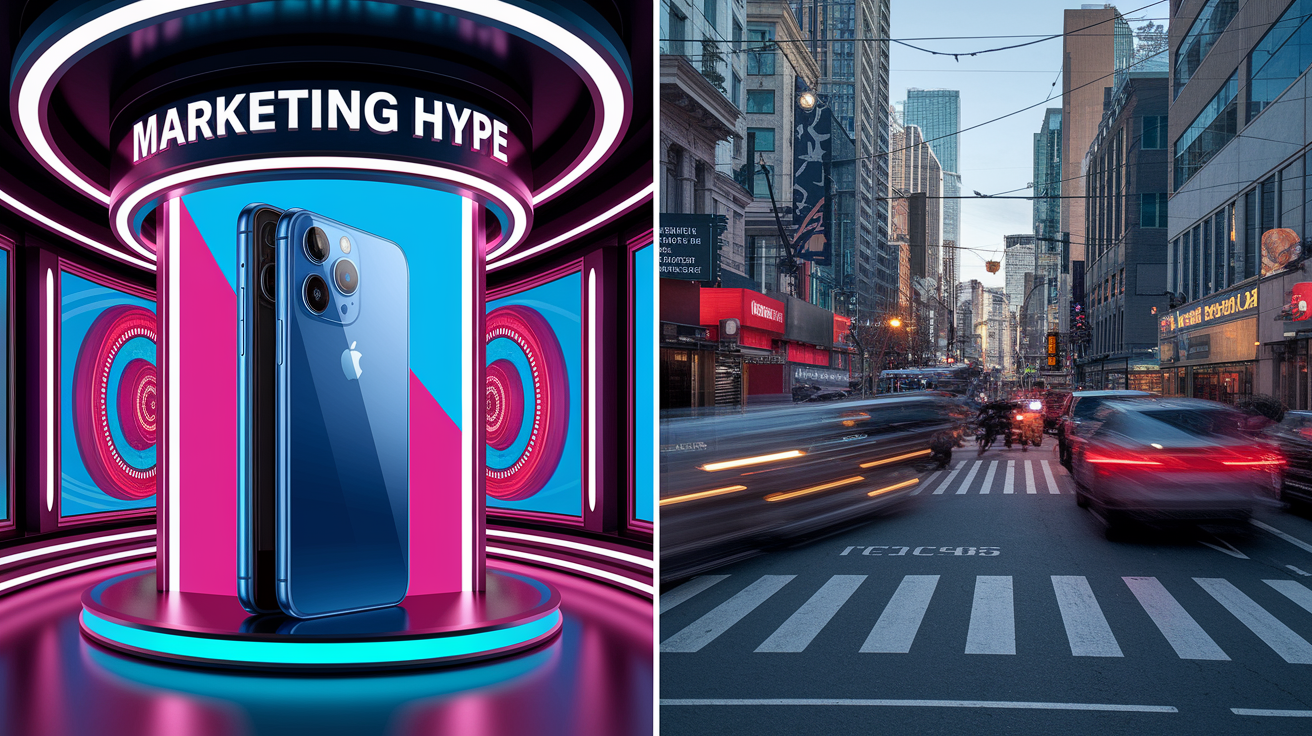
Red flags start with the demo environment. If the manufacturer only shows images captured in controlled studio conditions with professional lighting and curated subjects, the phone hasn’t been tested in the messy real world where shadows are harsh, subjects move unpredictably, and lighting changes mid-shot. Demand samples taken in uncontrolled settings: night streets with mixed sodium and LED lighting, backlit portraits at sunset, action shots of pets or children, and indoor scenes with tungsten or fluorescent bulbs.
Vague language is another warning. “AI-enhanced,” “pro-level,” or “powered by AI” mean nothing without specifics. Ask what the AI does: multi-frame stacking, scene detection, denoise, generative fill, or something else? Large digital zoom numbers like 100x almost always rely on heavy AI interpolation with minimal optical foundation. If a phone advertises extreme zoom but the spec sheet shows only 5x optical magnification, the rest is software guessing. Inconsistent results across multiple shots of the same scene indicate the AI is cherry-picking frames or applying selective enhancement that won’t reliably reproduce.
DXOMARK and similar benchmark scores can provide rough comparisons, but they use proprietary testing methods and weighted scoring that may not match real-world priorities. A phone optimized to score well on specific lab tests may underperform in daily use. Independent reviewers who publish RAW samples, 100% crops, and side-by-side comparisons across varied conditions provide more trustworthy evidence.
Common red-flag phrases to watch for:
- “Up to X times better” or “up to 100x zoom” with no breakdown of optical versus digital contribution or conditions under which the claim applies.
- “Pro-level results” or “DSLR-quality” without RAW support, manual controls, or verifiable sensor and lens specifications.
- “AI-powered enhancement” or “intelligent processing” with no disclosure of on-device versus cloud processing, latency, or specific algorithms used.
- Fine print qualifiers like “in supported scenes,” “best results with tripod,” or “cloud connection required,” which limit real-world usability.
Launch-Day Testing Checklist for Consumers and Reviewers
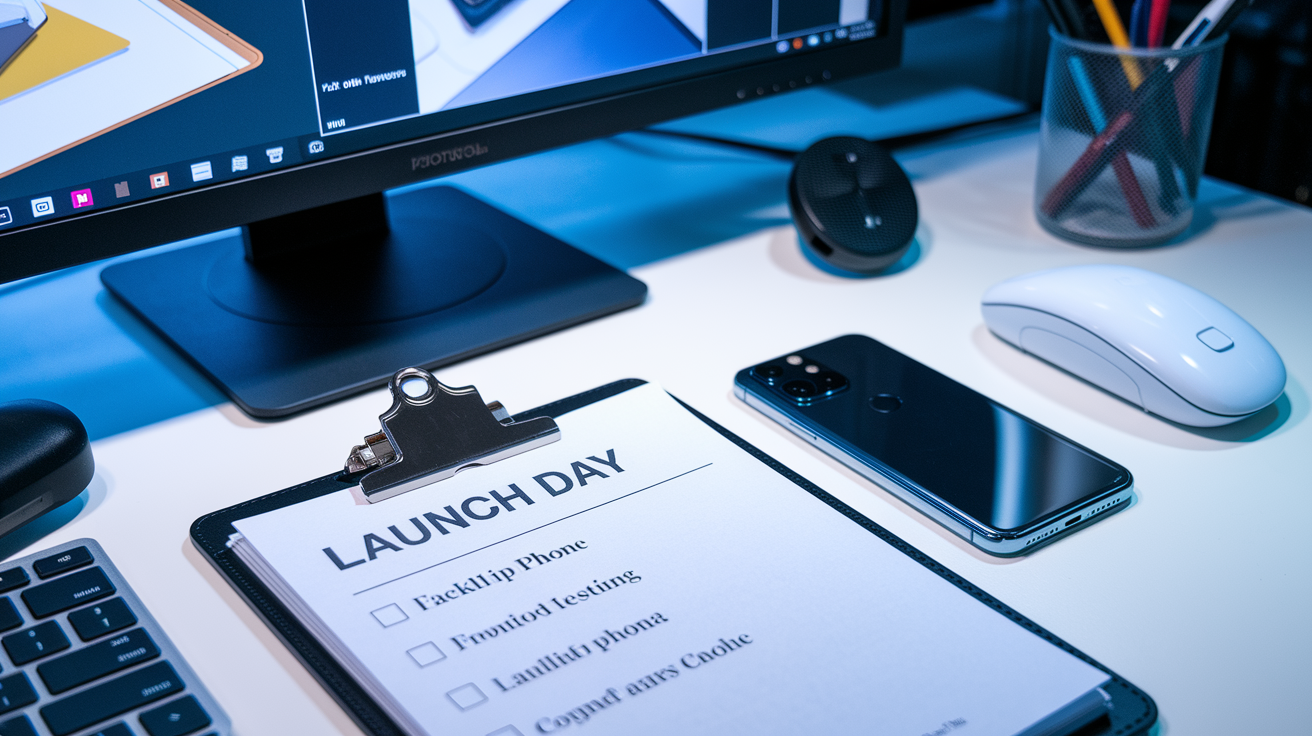
Effective evaluation requires a structured, repeatable test protocol. Choose five distinct scenes: daylight high dynamic range (sun and deep shadow), indoor mixed lighting (window light plus lamps), low-light street (under five lux), portrait with at least three people of varied skin tones, and a high-zoom distant subject (building detail, signage). For each scene, capture five to ten photos using the phone’s default AI mode, manual or RAW mode if available, and a competitor device under identical conditions. Test zoom at 1x, 2x, 5x, 10x, and the maximum advertised level.
Request or download RAW samples, unedited JPEGs, and metadata from the manufacturer or early reviewers. Inspect optical specifications: sensor size (prefer 1/1.3-inch or larger), pixel pitch (larger than 1.0 µm is better for low light), aperture (f/1.8 or wider improves light gathering), and true optical zoom range. Confirm whether advanced features run on-device or require cloud processing, which affects privacy and latency. Allow seven to fourteen days after launch for independent lab tests, community RAW galleries, and reviewer analysis before making a purchase decision based solely on launch claims.
- Identify and photograph five controlled test scenes, taking five to ten images per mode and per device for consistency checks.
- Request or download RAW files, EXIF metadata, and unedited JPEG samples from the manufacturer or trusted reviewers.
- Inspect 100% crops of at least three images per scene for texture fidelity, sharpening artifacts, noise, and generative flaws.
- Compare advertised optical zoom specifications against real zoom test results at 1x, 2x, 5x, 10x, and maximum zoom levels.
- Confirm on-device versus cloud processing for AI features, checking for latency, privacy implications, and real-time usability.
- Wait seven to fourteen days for independent reviews, lab measurements, and community RAW sample sets before finalizing any purchase decision.
Final Words
Check demos against RAW files and real scenes — don’t rely on studio slides. Run the suggested 5-scene, multi-shot tests and inspect 100% crops for artifacts.
Focus on the six core areas: computational photography, night mode, scene recognition, pro edits, generative tools, and zoom/video. Demand optical specs and sample RAWs before you believe big zoom or “AI-only” claims.
If you want to know how to evaluate AI camera features introduced at smartphone launches, use this checklist, wait for community RAWs, and you’ll spot real innovation faster.
FAQ
Q: How do AI-powered cameras enhance smartphone photography?
A: AI-powered cameras enhance smartphone photography by combining multi-frame stacking, smart noise reduction, scene recognition, portrait segmentation, and generative edits to produce clearer low-light shots, cleaner zooms, and more consistent colors.
Q: How to have AI evaluate a photo?
A: To have AI evaluate a photo, upload the RAW or high-quality JPEG with metadata, run automated checks for exposure, noise, and artifacts, then inspect 100% crops and flagged issues for realism and detail loss.
Q: Which smartphone features do you think would benefit from AI?
A: Smartphone features that benefit most from AI include night mode, clear optical vs digital zoom processing, portrait segmentation, video stabilization and tracking, and on-device generative edits for fast corrections.
Q: What are the 4 features of AI?
A: The four core AI features are perception (recognizing scenes), learning (improving from data), reasoning (making choices), and generation (creating or filling image content).