

Think camera sample images at launch prove a camera’s real‑world power?
They don’t.
Manufacturers hire pros, stage scenes, and use tuned firmware and heavy post-processing to make devices look flawless.
That tricks buyers into expecting the same results when shooting handheld at a park or in a dim cafe.
This post explains why those sample images are marketing demos, who gets hurt (everyday buyers and reviewers), and what to watch for, like missing RAWs, pre-production firmware, and overly clean shots, so you don’t buy based on a polished illusion.
Why Launch-Day Camera Sample Images Often Misrepresent Real‑World Results
Camera sample images at launch get created by professionals under conditions you’ll probably never replicate. Manufacturers hire skilled photographers, stylists, and post-production experts who use tripods, studio flashes, smoke machines, and carefully staged scenes to produce best-case results. These pros often shoot dozens to hundreds of frames to find a single perfect image. That workflow? It’s nothing like the casual handheld snapshots most buyers expect from their new camera. Pre-release firmware and tuned RAW converters used during launch events may differ from the software shipping with retail units, so the images shown at launch aren’t always reproducible on the device you take home.
Manufacturers use several tactics to make sure launch day photo marketing looks as polished as possible:
Professional setups with controlled lighting, tripods, and high-end lenses that deliver sharpness and color accuracy beyond typical handheld use.
Best-case lighting chosen to minimize noise, maximize dynamic range, and showcase ideal color rendition.
Heavy computational processing including multi-exposure HDR blending, portrait bokeh simulation, object removal, and horizon straightening applied in real time as images get captured.
Cherry-picked demo photos selected from hundreds of frames to eliminate any shot with motion blur, focus errors, or exposure issues.
Pre-production hardware or software that may include tuned RAW processing pipelines, firmware optimizations, or even sensor variants unavailable in retail devices.
You need to understand that launch samples are demonstrations of potential, not guarantees of everyday performance. Treating these manufacturer promotional photos as proof of what an average user will achieve leads to disappointment when real-world results show higher noise, softer edges, or less dramatic color. The staged photography setups and selective post processing used at launch are there to sell devices, not to represent the experience of a busy parent taking photos between meetings or a traveler shooting handheld in mixed light.
Controlled Shooting Environments and Their Impact on Perceived Camera Quality
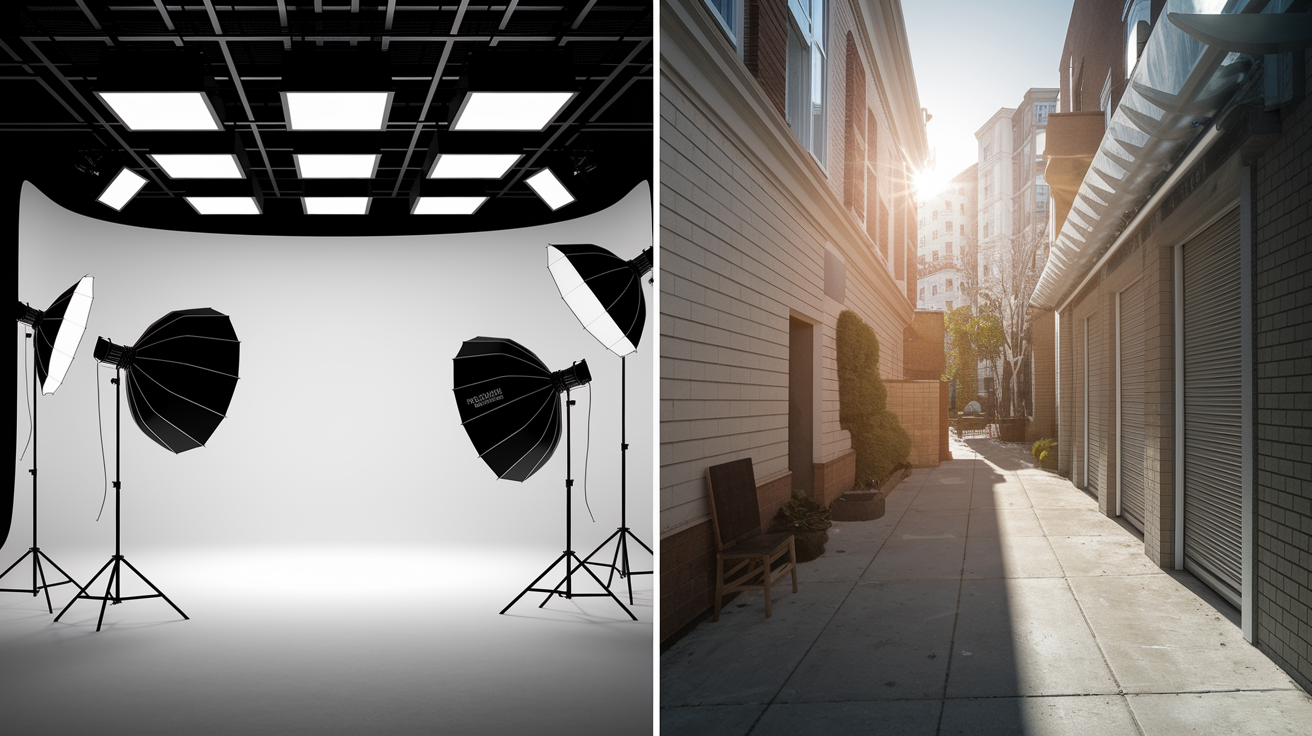
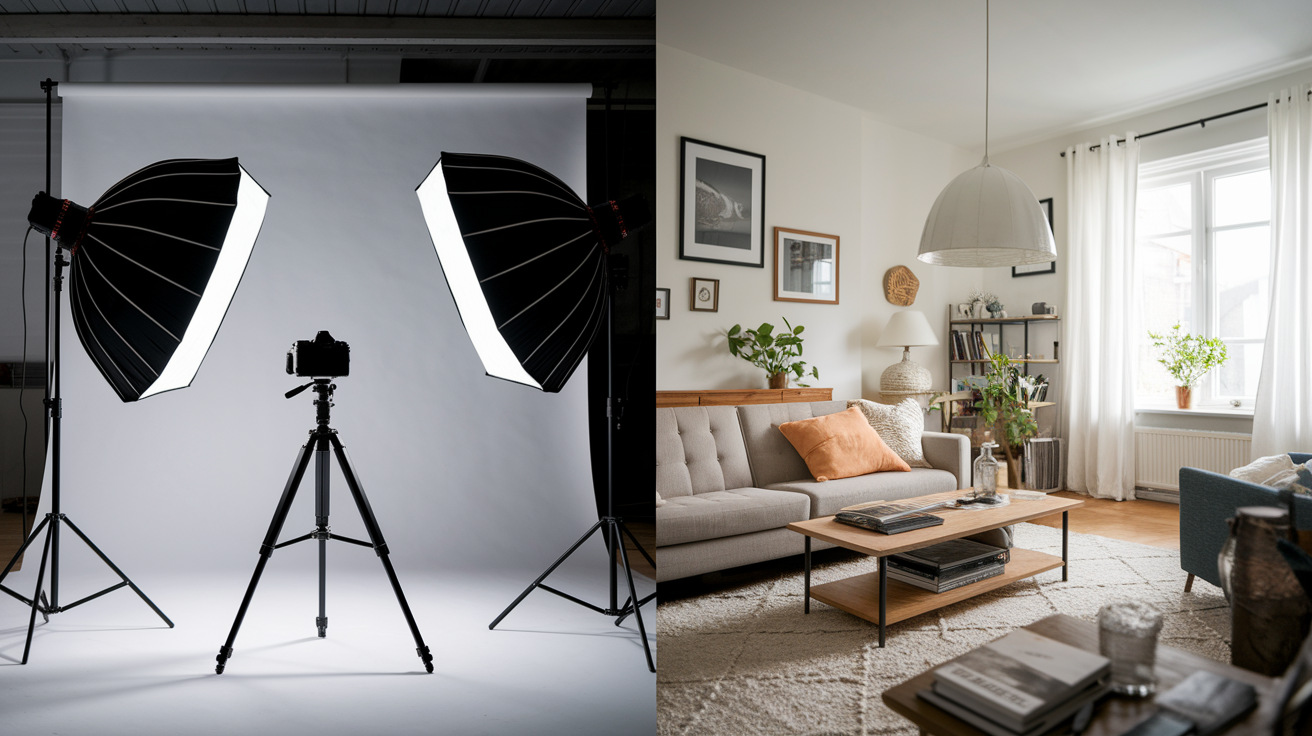
Manufacturers carefully curate every aspect of launch sample scenes to eliminate the variables that degrade image quality in daily life. Professional model shoots take place under perfectly controlled studio lighting, with reflectors positioned to fill shadows and diffusers placed to soften highlights. Sets get arranged so backgrounds are clean and uncluttered, foreground subjects are perfectly positioned, and every element within the frame supports the composition. Photographers use stabilized tripods or gimbals, eliminating the motion blur and focus drift common in handheld shooting. Many launch images are shot repeatedly until lighting, expression, and timing align. An approach described in contemporary critiques as rehearsing “the perfect moment” a thousand times.
These unrealistic test scenes hide the imperfections cameras display in average conditions. Identical foregrounds paired with different skies across “separate” sample images reveal that skies have been swapped in post-production, a technique dating back to 19th-century composite prints but now executed seamlessly with digital tools. Controlled sets also mask issues like autofocus hunting under low contrast, color shifts in mixed lighting, or edge softness when shooting wide open. Sample scene selection bias makes sure that only locations with favorable ambient light, minimal clutter, and photogenic subjects ever appear in galleries. The cluttered interiors, harsh midday sun, and fast-moving subjects most users encounter? Absent.
The gap between professional model shoots and everyday snapshots becomes clear when you try to replicate launch images. A perfectly lit portrait with smooth skin tones and a creamy bokeh background requires not only the camera but also professional lighting, makeup, posing direction, and often multiple takes to nail focus and expression. Without those inputs, the same camera in your hands produces images that look flatter, noisier, and less polished. Not because the camera has changed, but because the controlled shooting environment has disappeared.
How Processing Tricks Make Camera Samples Look Better Than Reality
Modern cameras apply sophisticated computational photography tuning that transforms raw sensor data into polished images in real time. Firmware image enhancements include multi-frame HDR stacking that blends several exposures to compress extreme dynamic range into a single viewable file, portrait bokeh simulation that mimics shallow depth of field even when shooting at narrow apertures, and object removal algorithms that erase distracting elements before you ever see them. Noise reduction tradeoffs smooth away grain at high ISO settings but also blur fine detail, a compromise that looks clean in thumbnails but falls apart under pixel-level inspection. Saturation boosting examples and color grading for marketing shift hues toward vivid, Instagram-ready palettes that may bear little resemblance to the scene as it appeared to the naked eye.
Historical manipulation methods persist in modern form. Sky library swaps (a practice documented as early as 1858 when photographer Camille Silvy blended separate exposures of land and sky) are now executed automatically or semi-automatically in camera software. White balance manipulation can warm golden-hour shots beyond reality or cool indoor scenes to appear clinical. Contrast curve adjustments stretch tonal ranges to make shadows darker and highlights brighter, creating the illusion of superior dynamic range when in fact the sensor’s native performance is more modest. Missing EXIF metadata in promotional galleries often hides these edits, preventing independent verification of exposure settings, ISO levels, or whether multiple frames were combined.
| Technique | Effect | Red Flag |
|---|---|---|
| Sky swapping | Replaces dull or blown-out skies with dramatic clouds or sunset gradients | Identical foreground elements paired with different skies across separate images |
| Multi-exposure HDR compositing | Compresses extreme dynamic range into a single image with detail in both shadows and highlights | Unnaturally perfect exposure across high-contrast scenes with no clipped highlights or blocked shadows |
| Cloning and content-aware fill | Removes distracting objects or fills gaps seamlessly | Repeating patterns, unnatural texture repetition, or missing elements visible in alternate angles |
| Extreme noise smoothing | Eliminates grain at high ISO but sacrifices fine detail and texture | Overly smooth skin, watercolor-like foliage, or loss of fabric weave in low-light shots |
| Horizon and perspective correction | Straightens tilted horizons and corrects parallax distortion | Perfectly level horizons and vertical lines in every frame, even in handheld shooting conditions |
| Preset-driven color mood edits | Applies a consistent color palette or filter to enforce a curated aesthetic | Uniform color grading across diverse lighting conditions that would naturally produce varied color casts |
Why Pre‑Production Hardware and Firmware Create Unrealistic Expectations
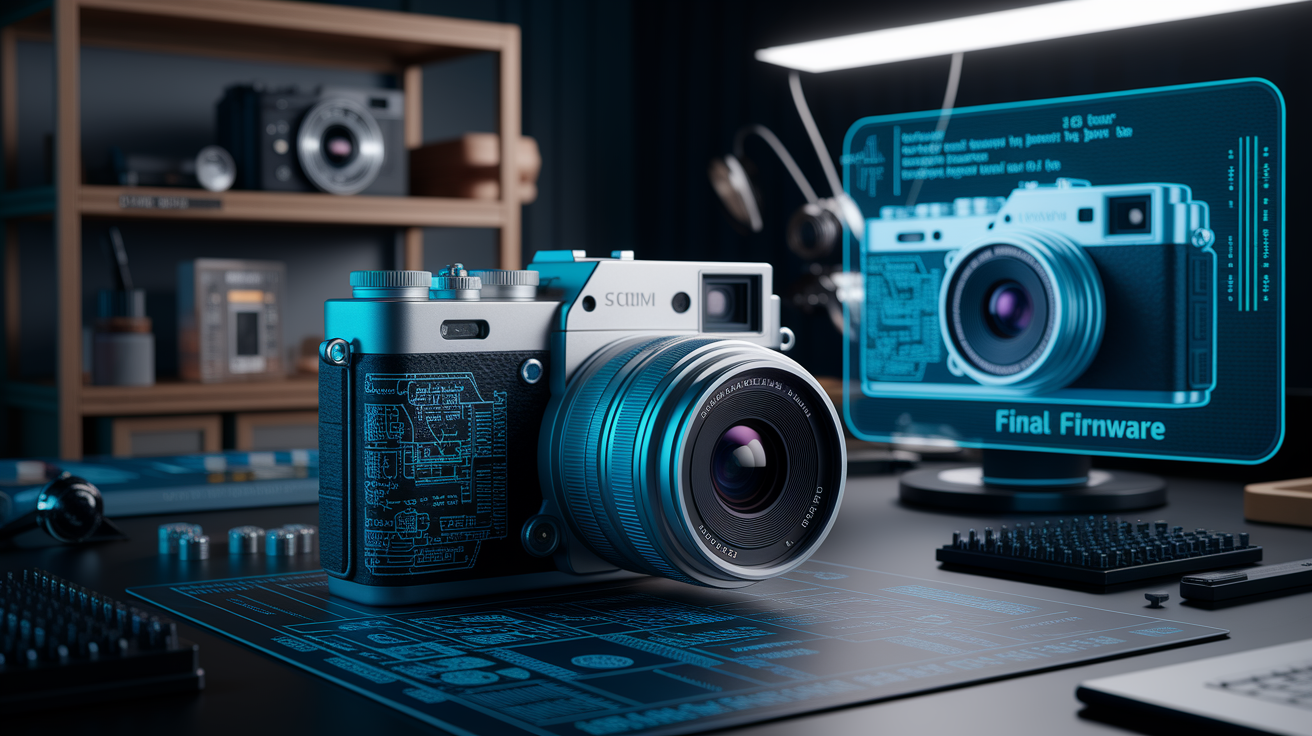
Launch samples frequently use pre-release firmware that includes tuning and optimizations not yet available in retail units. Engineers refine noise reduction algorithms, color science, and autofocus behavior up to the moment of launch, but shipping devices may run earlier firmware builds or may require post-launch updates to reach the performance shown in promotional materials. Some manufacturers convert RAW files using proprietary software pipelines that apply sharpening, lens corrections, and dynamic range adjustments you can’t replicate with standard RAW converters. In rare cases, pre-production units may even feature sensor or processing-chip variants that differ slightly from mass-production components, creating sample-to-retail differences that only become apparent when independent reviews and user uploads emerge weeks after launch.
Missing RAW files and stripped EXIF data prevent buyers from confirming exposure settings, ISO levels, or whether in-camera processing flags were enabled. Without access to the original sensor data, it’s impossible to verify whether a clean high-ISO image is the result of superior sensor performance or aggressive post-processing. Raw file availability at launch is uncommon, so early assessments rely entirely on manufacturer-supplied JPEGs that may have been processed through pipelines unavailable to end users.
Common pre-production mismatches include:
Firmware tuning differences where launch samples use optimized builds that ship weeks or months after the initial retail rollout, leaving early adopters with inferior performance.
Proprietary RAW conversion that applies corrections, sharpening, and color grading unavailable in standard software like Adobe Lightroom or Capture One.
Hardware variance where pre-production units are hand-selected for superior sensor performance, tighter manufacturing tolerances, or components not representative of mass production.
How Experts Detect When Launch Images Are Manipulated
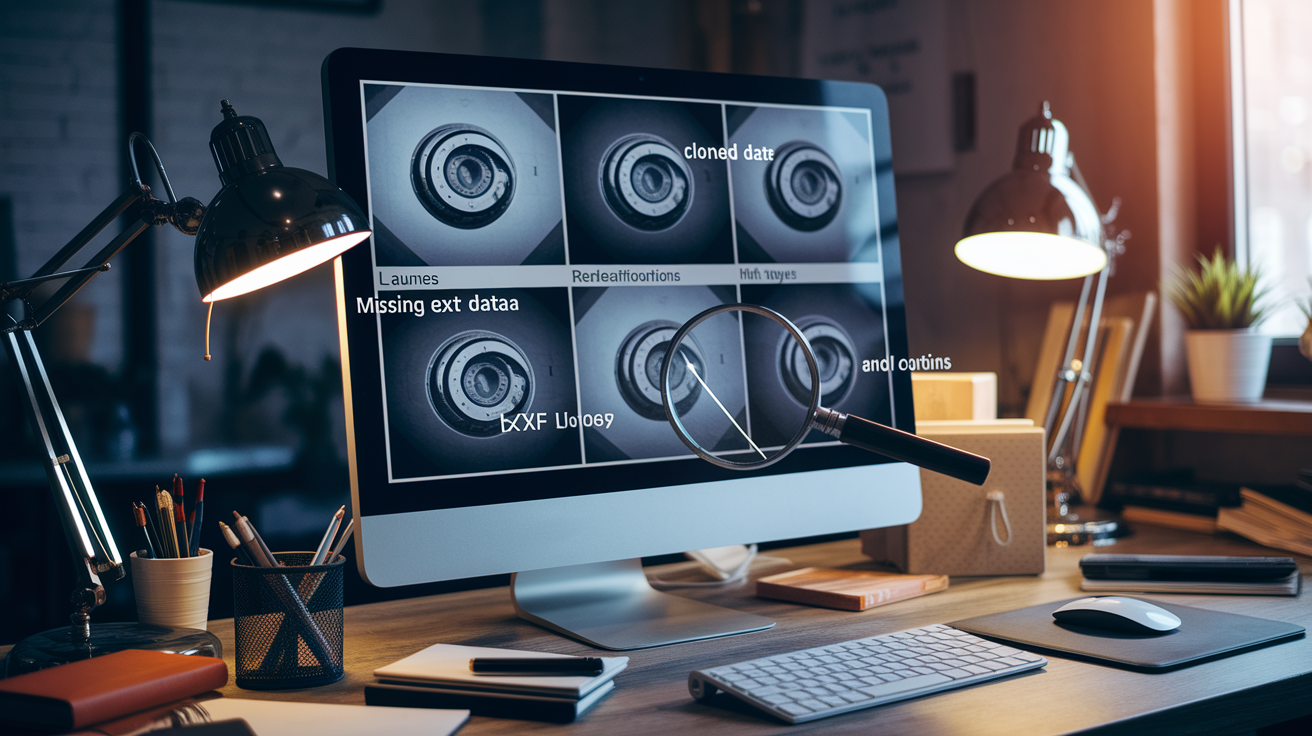
Independent reviewers and experienced photographers apply systematic checks to identify when launch images have been manipulated beyond standard in-camera processing. One common red flag is stripped EXIF metadata. Promotional galleries that lack exposure data, focal length, ISO, or processing flags immediately raise suspicion because legitimate samples should transparently disclose shooting conditions. Geometry inconsistencies also reveal manipulation. An image showing a disproportionately large moon would require a focal length around 1000 mm equivalent to get that apparent size, yet if the perspective and field of view suggest a wide-angle composition, the image is likely a composite blending telephoto and wide-angle exposures.
Repetitive patterns and cloned elements are detectable through pixel-level comparison methods. When textures or objects appear duplicated across different areas of the frame (like identical cloud formations or mirrored foliage), content-aware cloning or copy-paste edits are likely. Experts also watch for identical lighting across different sky conditions. If multiple images from supposedly different times or locations show the same shadow angles, highlight positions, and color temperature, the scenes were either shot in rapid succession under controlled studio conditions or skies were swapped in post. Perfect exposure across high dynamic-range scenes signals multi-frame HDR compositing, especially when shadows retain detail and highlights show texture simultaneously in conditions that would normally exceed a single exposure’s capability.
Best practice among reviewers is to compare launch samples against 30 to 100 user-submitted images collected from forums, social platforms, and community galleries. Consistency gaps (where professional samples show sharpness, color accuracy, or noise performance markedly better than the bulk of user uploads) indicate that launch images were produced under non-representative conditions or with heavy post-processing.
Fastest red flags experts look for:
Missing or stripped EXIF metadata preventing verification of settings and processing flags.
Unnaturally perfect geometry like oversized moons or impossibly compressed perspectives.
Identical lighting or sky conditions across images claimed to be from different times or locations.
Repeating textures or cloned elements indicating content-aware fill or copy-paste edits.
Finding Trustworthy Alternatives to Launch-Day Samples

Reliable verification of camera performance requires sourcing unbiased sample images from independent reviewers and community-driven benchmarks that publish full-resolution files and transparent methodology. Third-party lab testing provides measurable data on dynamic range, ISO noise, color accuracy, and sharpening levels. Objective metrics that supplement subjective image galleries. Reviewers who publish both JPEG and RAW files side by side allow you to assess how much of the final image quality comes from in-camera processing versus the raw sensor data. Long-form reviews that include 20 to 100 sample images across mixed lighting (daylight, indoor tungsten, low-light handheld, backlit portraits, and high-contrast scenes) offer a realistic cross-section of performance rather than the handful of cherry-picked hero shots manufacturers supply at launch.
Community-driven photo benchmarks hosted on forums and imageboard threads provide the broadest sample diversity because users upload straight-out-of-camera images without editorial filtering. These galleries reveal consistency across retail units and typical shooting conditions, exposing weaknesses like autofocus drift, color shifts under fluorescent lighting, or noise spikes at moderate ISOs that controlled launch samples never show. Waiting 2 to 4 weeks after a camera’s release allows time for independent lab testing to complete and for hundreds of real-world samples to accumulate, giving you access to the data needed to set realistic expectations.
Best sources for independent lab testing and real-world samples:
Independent testing labs that publish dynamic range charts, ISO noise measurements, and color accuracy metrics using standardized targets.
RAW galleries from trusted reviewers who upload full-resolution DNG or NEF files alongside processed JPEGs.
Photography forums where users share unfiltered straight-out-of-camera images and discuss performance in specific shooting scenarios.
Long-form reviews featuring 20 to 100 sample images covering daylight, indoor, low-light, and mixed-lighting conditions.
Community uploads on platforms where users contribute images without manufacturer curation or approval.
Setting Realistic Expectations and Replicating Launch Images Yourself
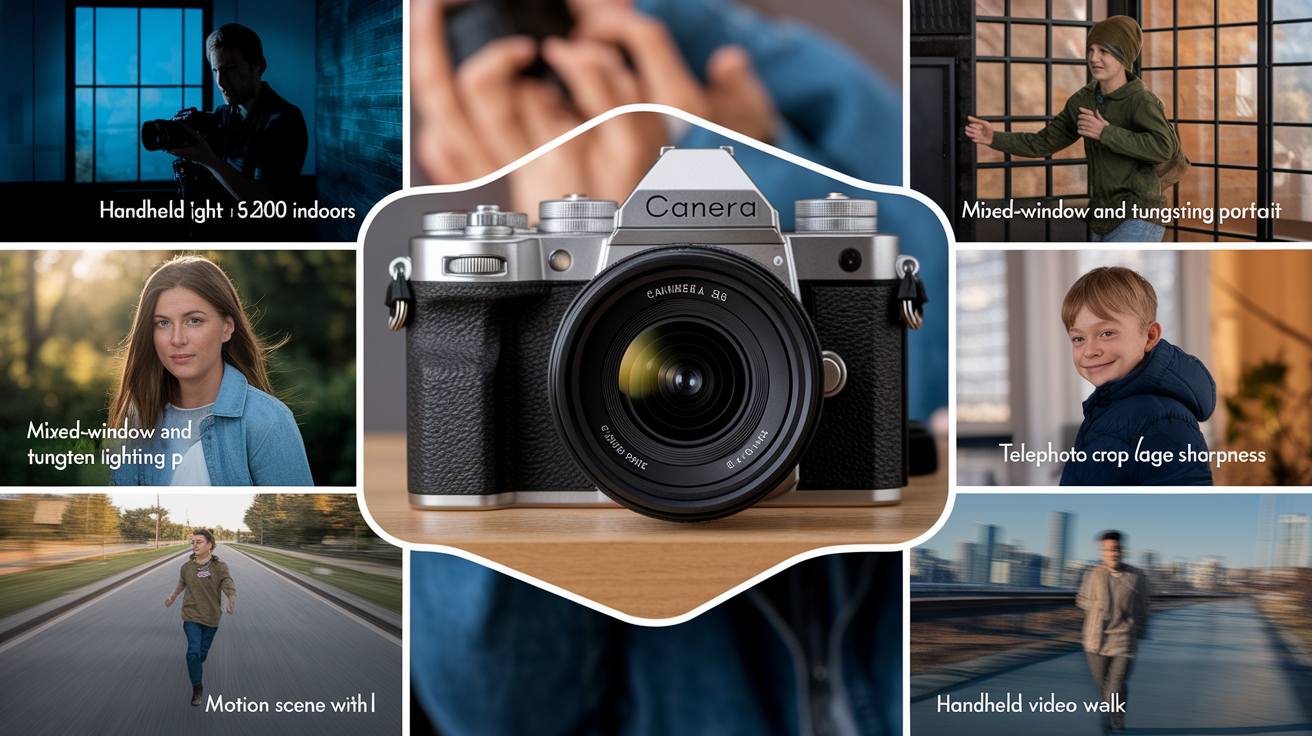
You can run reproducible tests to evaluate whether a camera delivers results comparable to launch samples by choosing scenarios that mirror your real-world use. A handheld low-light test shot at ISO 1600 or 3200 in typical indoor lighting reveals how much noise the sensor produces and whether firmware noise reduction preserves detail or smears it into a watercolor-like texture. A backlit portrait taken without fill flash or reflectors shows how well the camera handles dynamic range when the subject’s face is in shadow and the background is bright. Mixed lighting portraits shot under a combination of window light and indoor tungsten expose color balance accuracy and white balance consistency, conditions that controlled studio setups avoid entirely.
Telephoto crop tests at maximum optical zoom demonstrate edge sharpness and chromatic aberration performance. Motion scenes with moving subjects (children running, pets playing, or street activity) reveal autofocus tracking reliability and shutter lag. Video stabilization tests recorded while walking handheld show whether electronic or optical stabilization systems match the smooth pans seen in manufacturer demo reels. Many professional launch shots depend on tripods, repeated takes, and perfectly controlled lighting setups unavailable to casual users, so any test should be conducted handheld in ambient light to reflect everyday conditions.
Reproducible test scenarios you should try:
Handheld low-light shot indoors at ISO 1600 to 3200 to assess noise, detail retention, and autofocus performance in dim conditions.
Backlit portrait outdoors with the sun behind the subject to test dynamic range and shadow recovery without fill lighting.
Mixed lighting portrait combining window light and indoor tungsten to evaluate white balance accuracy and color rendering.
Telephoto crop at maximum optical zoom focused on fine detail like tree branches or text to check edge sharpness and chromatic aberration.
Motion scene with a moving subject to test autofocus tracking, shutter lag, and burst mode consistency.
Handheld video walk recorded while walking to assess stabilization performance and rolling shutter artifacts.
After capturing these test shots, compare your images to official launch samples by examining noise levels in shadow areas, sharpness at the edges of the frame, color accuracy of skin tones, and overall tonal balance. If your results show noticeably higher noise, softer edges, or less vibrant colors than the promotional images, the gap likely reflects the difference between controlled professional setups and real-world handheld shooting. Understanding this gap helps set realistic expectations and prevents buyer disappointment when everyday photos don’t match the polished results seen in launch day photo marketing.
Final Words
We started by showing how manufacturers use controlled lighting, staged scenes, pro retouching, and pre-release software to craft perfect launch shots that don’t match everyday use.
Use practical steps: look for RAW galleries, independent lab tests, reviewers who share many real-world images, and run a few simple reproducible tests yourself.
Understanding how camera sample images at launch can be misleading gives you the power to judge real performance. Wait for broader samples — you’ll end up picking gear that actually works for you.
FAQ
Q: What is the 20 60 20 rule in photography?
A: The 20 60 20 rule in photography is a tonal balance guideline suggesting roughly 20% shadows, 60% midtones and 20% highlights to create balanced exposure and pleasing contrast when composing or grading images.
Q: How can photos be misleading?
A: Photos can be misleading by using staged lighting, selective framing, heavy retouching, HDR composites, or context removal; manufacturers often cherry-pick setups that make images look far better than typical user results.
Q: How to tell if an image has been manipulated?
A: You can tell an image has been manipulated by checking for stripped EXIF, repeating patterns from cloning, mismatched shadows or reflections, unnatural smoothing or sky swaps, and impossible detail for the focal length.
Q: What are the ethical implications of manipulating or altering images to mislead viewers?
A: The ethical implications of manipulating images to mislead viewers include eroding trust, deceiving buyers or voters, harming reputations, and legal risks; creators should disclose major edits to avoid intentional deception.